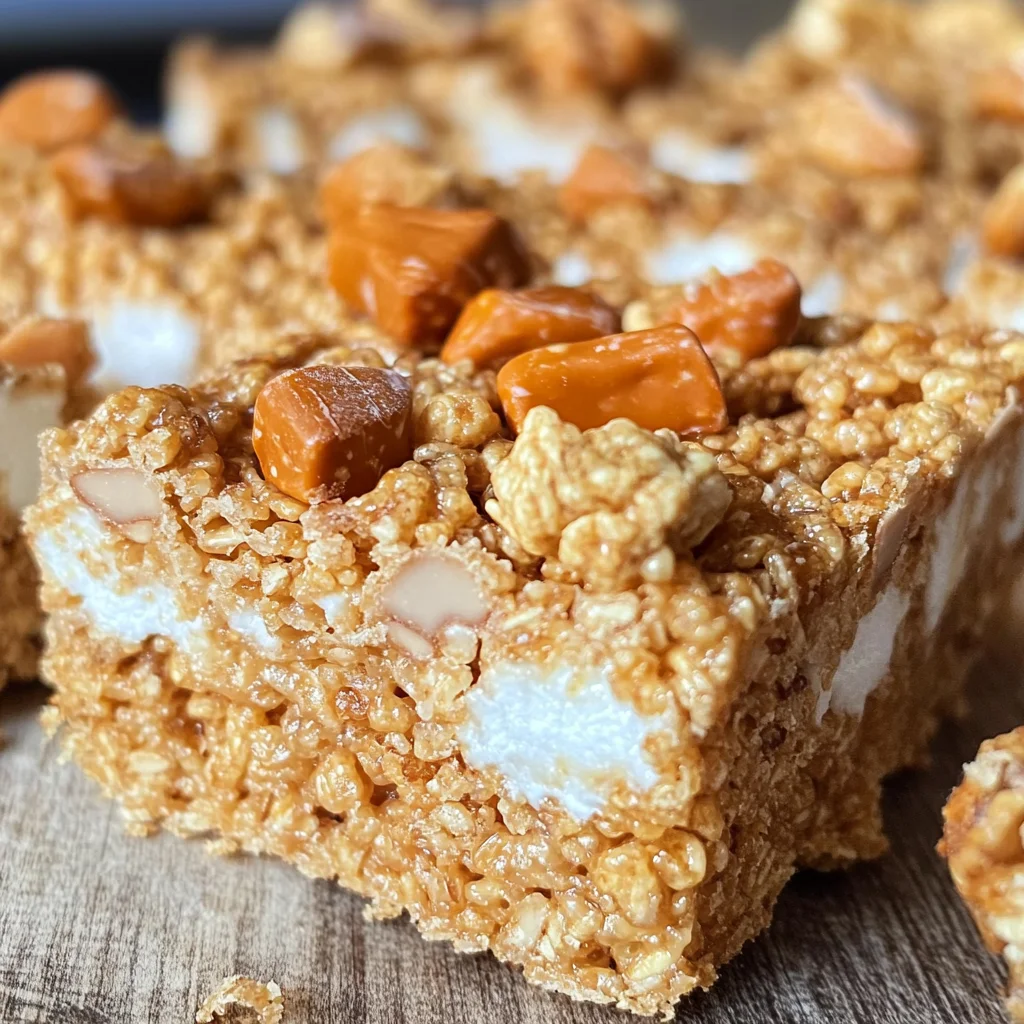
Butterfinger Rice Krispie Treats
Butterfinger Rice Krispie Treats are a delightful twist on the classic treat. They blend soft, gooey marshmallows with the crunchy, peanut buttery goodness of Butterfinger candy bars. Perfect for parties, snacks, or just a sweet indulgence, these treats are simple to make and require no baking!
Why You’ll Love This Recipe
- Quick and Easy: This recipe takes just 10 minutes of prep and 5 minutes of cooking time, making it perfect for last-minute cravings.
- No Baking Required: Enjoy a delicious dessert without the hassle of turning on the oven.
- Kid-Friendly: Kids will love helping to mix ingredients and crush Butterfingers, making it a fun family activity.
- Versatile Treat: These treats can be customized by adding other candies or nuts according to your taste.
- Perfect for Any Occasion: Great for birthday parties, holiday celebrations, or as an everyday snack.
Tools and Preparation
To create these delicious Butterfinger Rice Krispie Treats, gather some essential tools that will make your preparation easier.
Essential Tools and Equipment
- Non-stick pot
- Rubber spatula
- Baking dish (9 X 13-inch)
- Plastic bag
- Rolling pin or mallet
Importance of Each Tool
- Non-stick pot: Ensures easy melting of butter and marshmallows without sticking or burning.
- Rubber spatula: Aids in mixing and spreading the treats evenly in the baking dish.
- Baking dish: The right size ensures that your treats set properly without being too thick or thin.
Ingredients
To make Butterfinger Rice Krispie Treats, gather these ingredients:
For the Base
- 1/4 cup unsalted butter
- 10.5 ounces mini vegan marshmallows
- 1/2 cup creamy peanut butter
For the Crunch
- 6 cups Rice Krispies cereal
- 5.7 ounces Butterfinger candy bars (3 x 1.9 oz candy bars or 9 Fun Size)
How to Make Butterfinger Rice Krispie Treats
Step 1: Prepare Your Baking Dish
- Spray a 9 X 13-inch baking dish with cooking spray to prevent sticking.
Step 2: Crush the Butterfingers
- Place Butterfingers into a plastic bag.
- Use a rolling pin or mallet to crush them; they should have some larger pieces for texture.
Step 3: Melt the Base Ingredients
- In a large non-stick pot over medium heat, melt the butter.
- Add mini vegan marshmallows and stir until completely melted.
Step 4: Combine Peanut Butter
- Remove the pot from heat.
- Stir in creamy peanut butter until fully melted and mixed.
Step 5: Mix in Crunchy Goodness
- Add the crushed Butterfingers to the mixture and stir well.
Step 6: Add Rice Krispies
- Carefully fold in Rice Krispies cereal until everything is fully coated.
Step 7: Transfer to Baking Dish
- Pour the mixture into the prepared pan.
- Use a greased rubber spatula to spread it evenly.
Step 8: Cool and Cut
- Allow bars to cool completely for about an hour before cutting into squares.
Enjoy your homemade Butterfinger Rice Krispie Treats!
How to Serve Butterfinger Rice Krispie Treats
Butterfinger Rice Krispie Treats are delightful on their own, but there are many creative ways to serve them that enhance their deliciousness. Whether for a party, picnic, or snack time, these treats can be paired with various accompaniments to elevate the experience.
Pair with Ice Cream
- Vanilla or chocolate ice cream adds a creamy contrast to the chewy treats.
Drizzle with Chocolate Sauce
- A warm drizzle of chocolate sauce brings extra indulgence and richness.
Serve with Fresh Fruit
- Slices of strawberries or bananas provide a refreshing balance to the sweetness.
Create Dessert Parfaits
- Layer pieces of the treats with whipped cream and fruit in a cup for a fun dessert presentation.
Enjoy with Milk
- A cold glass of milk complements the flavors and textures perfectly.
Pack for Lunch Boxes
- Cut into squares and pack in lunches for a delightful surprise treat.
How to Perfect Butterfinger Rice Krispie Treats
Making perfect Butterfinger Rice Krispie Treats is all about attention to detail. Follow these tips for the best results every time.
-
Use fresh marshmallows: Fresh mini vegan marshmallows melt better and give a smoother texture.
-
Don’t overheat: Melt butter and marshmallows on medium heat to prevent burning; keep stirring gently.
-
Grease your spatula: Lightly greasing your spatula helps spread the mixture easily in the pan without sticking.
-
Let them cool completely: Allowing bars to cool fully helps them set properly, making cutting easier later.
Best Side Dishes for Butterfinger Rice Krispie Treats
Butterfinger Rice Krispie Treats can be enhanced with complementary side dishes that balance their sweet flavor. Here are some tasty suggestions:
- Fresh Fruit Salad: A mix of seasonal fruits offers freshness and natural sweetness.
- Veggie Sticks and Hummus: Crunchy veggies paired with hummus provide a savory contrast.
- Cheese Platter: A selection of cheeses adds variety and richness alongside the sweet treats.
- Yogurt Parfait: Layer yogurt with berries and granola for a deliciously creamy side dish.
- Granola Bars: Homemade or store-bought granola bars add a crunchy texture that pairs well.
- Popcorn Mix: Sweet and salty popcorn mix creates an exciting snack combination.
- Chocolate-Covered Pretzels: The saltiness of pretzels complements the sweetness of the treats perfectly.
- Nut Mix: A blend of nuts provides protein and crunch, balancing out the dessert’s sweetness.
Common Mistakes to Avoid
Making Butterfinger Rice Krispie Treats is simple, but some common mistakes can affect the final result.
- Not Greasing the Pan: If you skip this step, your treats may stick to the pan, making it hard to remove them. Always spray your baking dish with cooking spray before pouring in the mixture.
- Overheating the Marshmallows: Heating marshmallows too long can make them tough instead of gooey. Melt them over medium heat and stir constantly until just melted.
- Skipping the Crushing Step: Large pieces of Butterfinger can create uneven texture in your treats. Be sure to crush them into smaller chunks for better distribution.
- Not Cooling Completely: Cutting into warm treats can cause them to fall apart. Allow the bars to cool completely for at least an hour before slicing.
- Using Regular Butter: Avoid using salted butter, as it can alter the flavor profile of your treats. Stick with unsalted butter for the best results.
Storage & Reheating Instructions
Refrigerator Storage
- Store in an airtight container for up to 1 week.
- Keep in a cool area of your fridge to maintain softness.
Freezing Butterfinger Rice Krispie Treats
- Wrap tightly in plastic wrap and place in a freezer-safe bag.
- They will last up to 3 months in the freezer.
Reheating Butterfinger Rice Krispie Treats
- Oven: Preheat oven to 250°F (120°C) and warm wrapped treats for about 10 minutes.
- Microwave: Heat for 10-15 seconds at a time, checking frequently to prevent melting too much.
- Stovetop: Place in a non-stick skillet over low heat, stirring gently until warmed through.
Frequently Asked Questions
Here are some common questions about making Butterfinger Rice Krispie Treats.
What are Butterfinger Rice Krispie Treats?
Butterfinger Rice Krispie Treats are a sweet dessert made by combining Rice Krispies cereal with melted marshmallows, peanut butter, and crushed Butterfinger candy bars.
Can I use other candy bars?
Absolutely! You can customize your treats by substituting different candy bars like Snickers or Reese’s for a unique flavor twist.
How do I make vegan Butterfinger Rice Krispie Treats?
Simply use vegan marshmallows and ensure that any other ingredients (like peanut butter) are plant-based to keep it vegan-friendly.
Can I add nuts or other toppings?
Yes! Adding chopped nuts or drizzling chocolate on top can enhance flavor and texture. Feel free to get creative!
Final Thoughts
Butterfinger Rice Krispie Treats are not only delicious but also versatile. You can customize them with different candies or add-ins based on your preferences. This easy recipe is perfect for gatherings or just a sweet treat at home. Give it a try today!
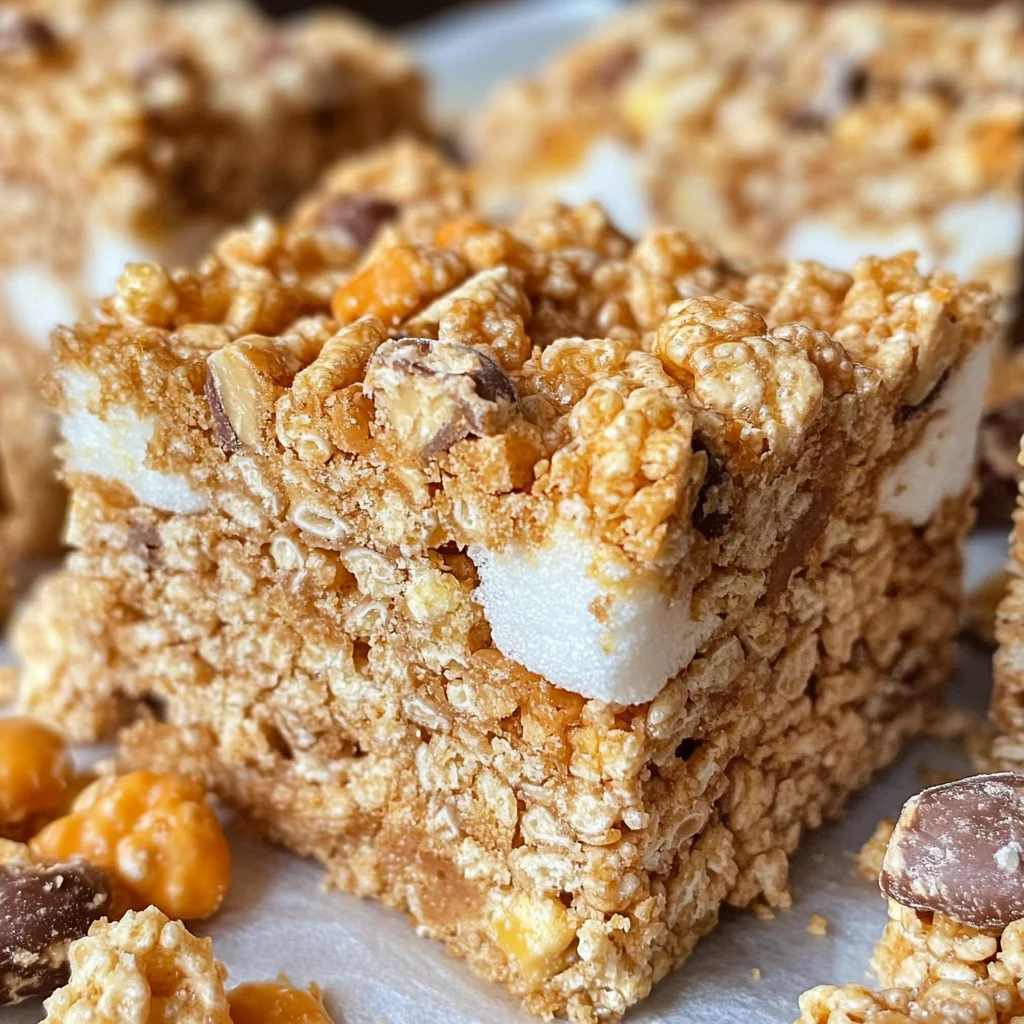
Butterfinger Rice Krispie Treats
Butterfinger Rice Krispie Treats offer a delectable twist on the classic dessert, combining the gooeyness of vegan marshmallows with the crunchy, peanut buttery goodness of Butterfinger candy bars. This no-bake treat is perfect for parties, snacks, or simply satisfying a sweet craving with minimal effort. With just ten minutes of prep time and five minutes of cooking, these kid-friendly delights are not only fun to make but also customizable with your favorite candies or nuts. Enjoy them on their own or pair them creatively with ice cream or fruit for a delightful experience.
- Prep Time: 10 minutes
- Cook Time: 5 minutes
- Total Time: 15 minutes
- Yield: Makes approximately 16 servings 1x
- Category: Dessert
- Method: No Bake
- Cuisine: American
Ingredients
- 1/4 cup unsalted butter
- 10.5 ounces mini vegan marshmallows
- 1/2 cup creamy peanut butter
- 6 cups Rice Krispies cereal
- 5.7 ounces Butterfinger candy bars
Instructions
- Spray a 9 x 13-inch baking dish with cooking spray.
- Crush Butterfinger candy bars in a plastic bag using a rolling pin or mallet.
- In a non-stick pot over medium heat, melt the butter and add mini vegan marshmallows, stirring until completely melted.
- Remove from heat and stir in creamy peanut butter until fully mixed.
- Add crushed Butterfingers and mix well.
- Gently fold in Rice Krispies until evenly coated.
- Pour mixture into the prepared dish and spread evenly with a greased spatula.
- Allow to cool completely for about an hour before cutting into squares.
Nutrition
- Serving Size: 1 square (30g)
- Calories: 130
- Sugar: 10g
- Sodium: 55mg
- Fat: 6g
- Saturated Fat: 2g
- Unsaturated Fat: 4g
- Trans Fat: 0g
- Carbohydrates: 18g
- Fiber: 0g
- Protein: 2g
- Cholesterol: 0mg